DaiGoro Rigging Process
- Mason Smigel

- Nov 15, 2022
- 3 min read
Updated: Jan 17, 2023
This post will outline some of the challenges and techniques I used when rigging Daigoro for the upcoming SCAD Senior Film Goro Goro.

Facial rig test animated by Ryo Sawada
Getting Started
Early into production, I built a proxy rig using simple geometry so we could start working on testing his proportions in motion and get the animators' feedback on the rig setup. Because I used rigamajig we were able to copy the exact same joint setup over to the final model and copy the skin weights as a solid starting point.
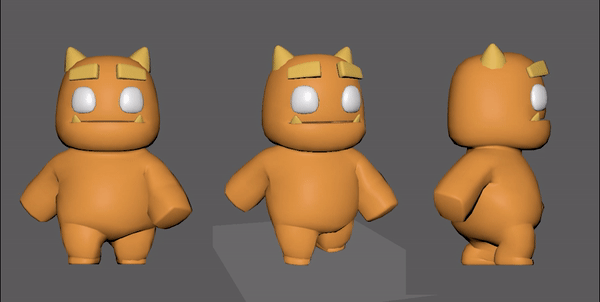
Proxy rig animated by Mick Bransfield
While most of the body was transferable the face was not. Because of his simple proportions and wide range of motion we wanted to hit I started off by doing some concept sculpts to test the ranges of the model and give back any early notes.


The facial rig
The facial setup consists of a mixture of joints and blendshapes in order to maximize time while maintaining control over the rig. He was an interesting character because of the simple designs some elements such as the brows were very straightforward, but other areas like the lips were much more challenging.
I always like to start with the mouth corners because I feel like it really helps to express who that character so I started by sculpting those shapes. I found that utilizing a wire deformer to create the blend shapes helped to create a more natural and appealing curve while still warping around the boxy shape of his head.

I also wrote a new tool to split blendshapes based on skin cluster weights so I could more easily paint and edit masks for the lip controllers.
This video shows the tool being used to split the left and right shapes however it can be used for any number of influences.
For the eyes, I worked with the animators to find the right blend of automation to control. In the end, we developed a system that uses joints for overall deformation with a geometry switch for the closed-eye shape.

Layering Deformations
In order to provide the granularity needed for the rig I added a system to Rigamajig to handle what I call 'deformation layers'
Each deformation layer stacks ontop of the layer before it and allows the user to layer in specific functionality without impacting other areas of the rig.

Because Daigoro is so cartoony we really wanted to exaggerate the squash and stretch, as well as having a middle stretch control. For this I found the best method to be creating a single Ik spline chain with volume preservation and layering it into the deformation layer after the main skinning.
This allows some deformation like the Jaw, to be contained to a skinCluster while the squash and stretch is contained to its own skincluster. In order to remove the double transforms the deform layer tool creates a pre bind matrix connection for each input in the skinCluster so only relative deformation is applied to the final rig.
Model Variations
The story requires two model variations with different rigging needs. To reuse as much as possible I worked on a method to re-order the vertex orders so that we can use a single "headsplit_geo" shape as a live blendshape target into all three model variations so a single facial rig can be used across the other models without impacting the different body rigs.

The "headSplit" model blendshapes directly into all three character models without affecting the body geo
PosE Space Deformations (PSDS)
As a final step to polish up the body rig I used rigamajig's pose reader system to drive a series of corrective pose space blendshapes to help maintain a clean and clear silhouette. This was super important for daigoro specifically because of his chubby proportions.

This video shows the impact the PSDs make on the overall silhouette of the character.

And most importantly the butt variation.

Great work!